Auto Select will allow you to complete an area takeoff without having to manually trace the boundaries of the area itself.
You can complete a takeoff using Auto Select by following the steps below:
1. Turn on the Auto Select option from the Shapes section on the Home tab of the toolbar.
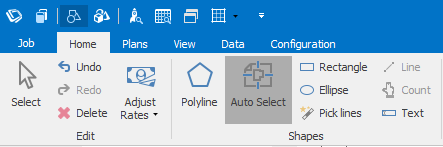
Fig.1 Auto Select Button
2. Move the mouse cursor into the area on the plan that you wish to complete a takeoff for.
3. A preview of the selection will appear on the plan in pink by default, and you can left-click to make this selection.
NOTE: If the area you are trying to select requires a combination of multiple shapes, you can use Auto Select to build up a preview of multiple connected areas before confirming your selection.
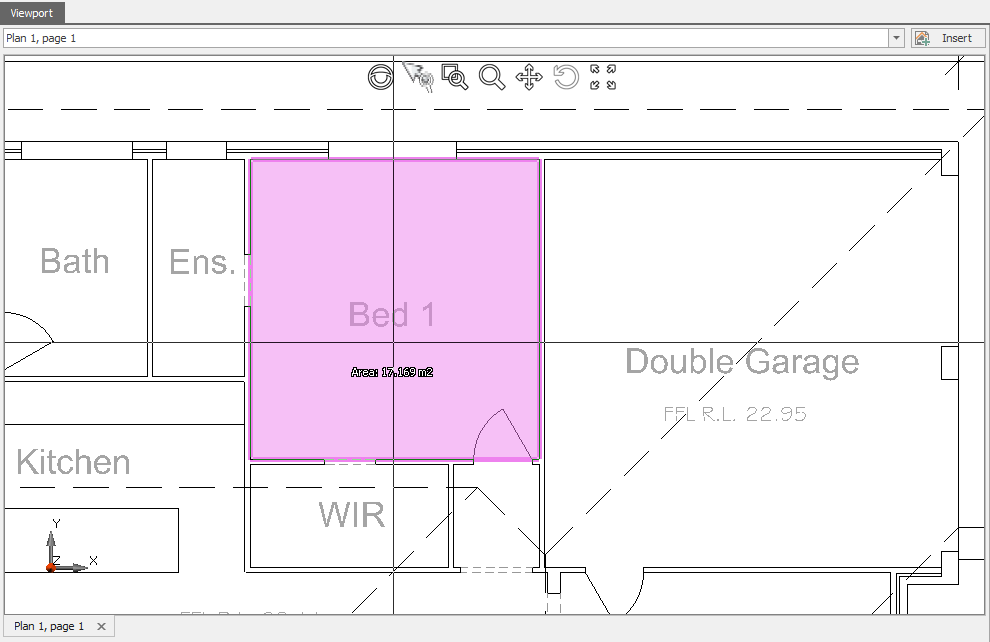 Fig.2 Selection
4. Once you have made the required selections, you can complete the shape by right-clicking.
NOTE: Right-clicking in an area where a select preview does not already exist will automatically create a shape without first creating a preview. Right-clicking will complete the shape without a preview.
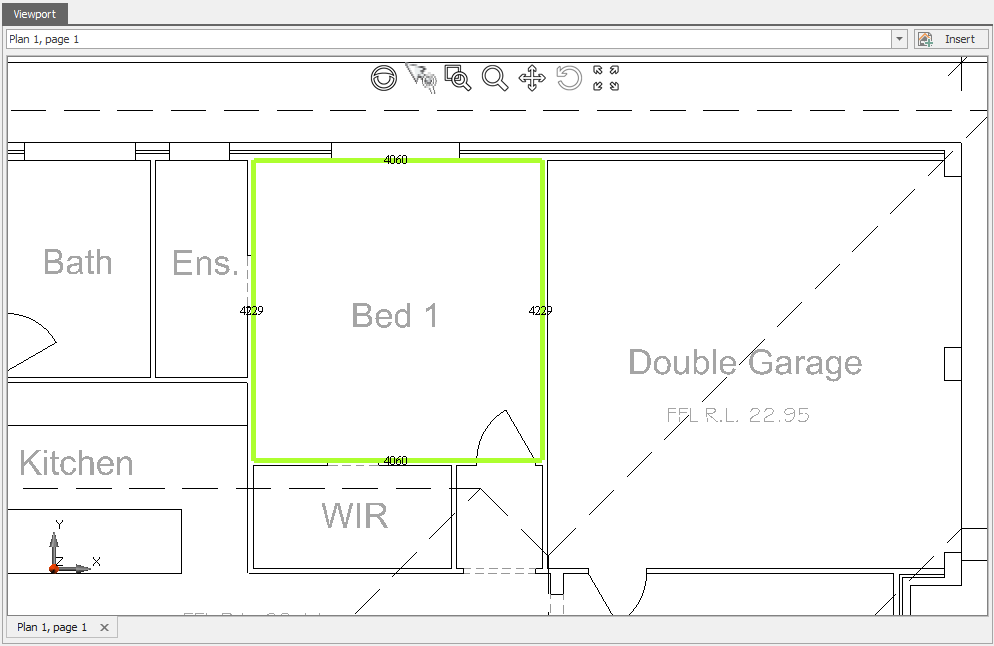 Fig.3 Completed Shape
Things to know about Auto Select
1. While working with Auto Select, you can cancel the current selection by pressing the Escape key, or undo the most recent selection by clicking the Undo button on the toolbar, or pressing the Ctrl + Z keys.
2. The Redo button on the toolbar, or Ctrl + Y keys will redo the last undo action.
Once the shape is complete, however, the undo action will remove the last shape created, and the redo action will replace this shape.
3. If the dimensions option is turned on, it will display the area of the selections made on the plan as seen in figure 2 above.
Limitations:
Auto Select is designed to work with Vector plans such as DWG and PDF files only and will not work with Raster images. This is because Auto Select requires information that is only available on Vector plans.
Comments
Please sign in to leave a comment.